As modern plumbing systems evolve, homeowners and professionals alike are increasingly turning to PEX (cross-linked polyethylene) piping for its flexibility, durability, and ease of installation. Central to the success of any PEX plumbing project is the use of proper tools, with the PEX crimp tool standing out as one of the most important. In this article, we’ll explore everything you need to know about the PEX crimp tool, including its function, benefits, how to use it, maintenance tips, and advice for choosing the right tool for your needs.
What is a PEX Crimp Tool?
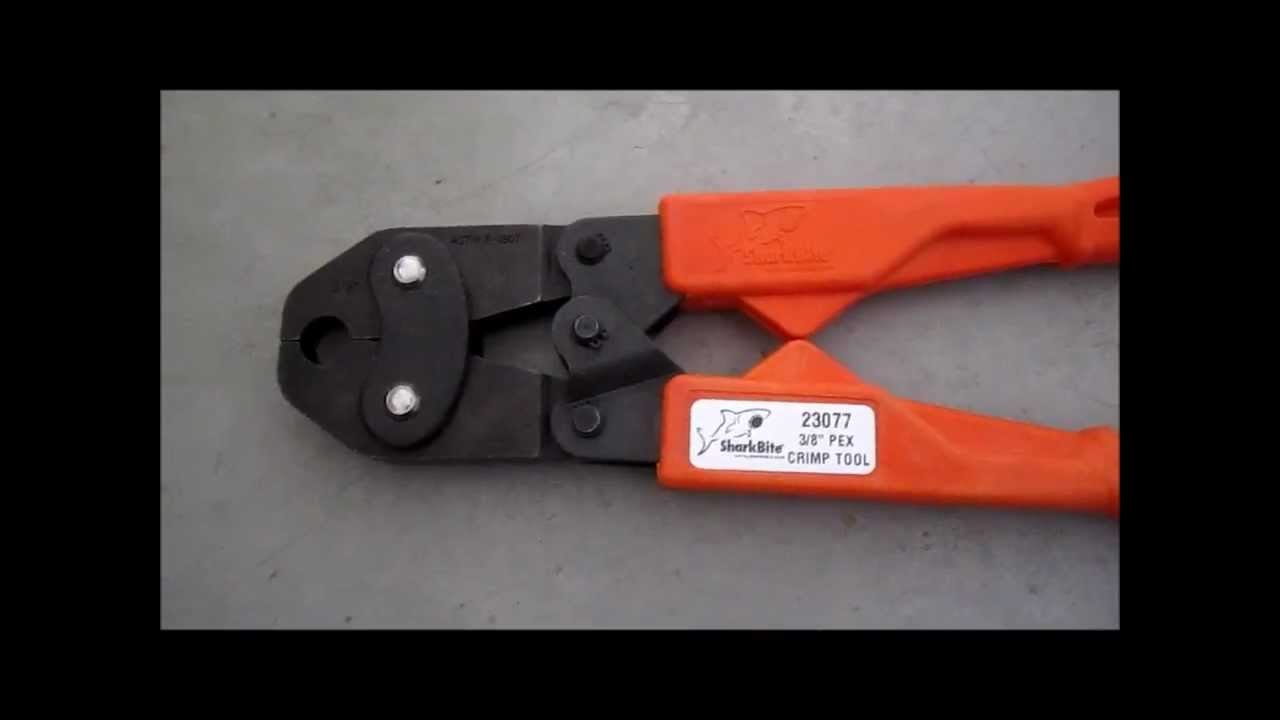
A PEX crimp tool is a specialized hand tool designed for making secure, watertight connections between PEX pipes and their fittings using copper crimp rings. The tool compresses the crimp ring over the pipe and fitting, ensuring a tight seal that prevents leaks and maintains system integrity. PEX crimping is widely considered one of the most reliable and accessible methods for joining PEX tubing in both residential and commercial plumbing applications.
Why Choose a PEX Crimp Tool?
1. Simplicity and Reliability
PEX crimp tools are known for their straightforward operation and consistent results. Even beginners can achieve professional-quality connections with minimal training, thanks to the tool’s simple squeeze-and-release mechanism.
2. Cost-Effective
Compared to other joining methods, such as expansion or push-fit systems, crimping requires minimal investment in specialized equipment. Crimp rings and fittings are generally affordable, making this a budget-friendly choice for both large and small projects.
3. Compatibility
PEX crimp tools are compatible with a wide range of PEX tubing sizes and fitting styles. Most tools are designed to work with the standard copper crimp rings used in North American plumbing systems, making them versatile for various applications.
How Does a PEX Crimp Tool Work?
The PEX crimping process is straightforward:
- Cut the PEX Tubing: Use a PEX pipe cutter for a clean, square edge.
- Slide a Crimp Ring Over the Pipe: Position it about 1/8 to 1/4 inch from the end.
- Insert the Fitting: Fully seat the fitting into the pipe.
- Position the Crimp Tool: Place the tool’s jaws over the crimp ring.
- Crimp the Ring: Squeeze the handles until the jaws close completely, compressing the ring.
- Check the Connection: Use a Go/No-Go gauge to verify the crimp is within specification.
This process creates a secure, leak-proof joint that can withstand years of use.
Types of PEX Crimp Tools
1. Standard PEX Crimp Tools
These are manual tools with handles that require you to squeeze them to compress the crimp ring. They are available in different sizes to accommodate various pipe diameters (commonly 3/8”, 1/2”, 3/4”, and 1”).
2. Ratcheting PEX Crimp Tools
Ratcheting crimp tools provide a mechanical advantage by using a ratchet mechanism, reducing hand fatigue and ensuring a complete crimp with every use. They are especially helpful for repetitive tasks or larger projects.
3. Multi-Size (Universal) PEX Crimp Tools
Some crimp tools come with interchangeable jaws or adjustable settings, allowing them to handle multiple pipe sizes with a single tool. These are ideal for plumbers or DIYers working on varied projects.
4. Compact or Angled PEX Crimp Tools
Designed for tight spaces, these tools have shorter handles or angled jaws, making it easier to work in confined areas such as under sinks or behind walls.
How to Use a PEX Crimp Tool: Step-by-Step Guide
- Measure and Cut: Start by measuring the length needed and cutting the PEX pipe squarely using a proper PEX cutter.
- Slide on the Crimp Ring: Place the copper crimp ring onto the pipe before inserting the fitting.
- Insert the Fitting: Push the fitting all the way into the pipe until it stops.
- Position the Crimp Ring: Move the ring so it’s 1/8” to 1/4” from the end of the pipe, covering the fitting’s barbs.
- Crimp the Ring: Open the crimp tool, position it over the ring, and squeeze the handles together until the tool releases.
- Inspect the Crimp: Use a Go/No-Go gauge to ensure the crimp is correctly sized. If the ring fails the test, cut out the connection and redo the process.
- Repeat as Needed: Continue the process for all joints in your system.
Maintenance Tips for Your PEX Crimp Tool
Proper maintenance ensures your tool remains accurate and functional over years of use:
- Clean Regularly: Wipe down the jaws and handles to remove debris.
- Lubricate Moving Parts: Apply light oil to hinges and pivot points to prevent rust and ensure smooth operation.
- Check Calibration: Some tools, especially ratcheting types, may require periodic calibration to maintain precision.
- Store Properly: Keep the tool in a dry place to prevent corrosion.
Common Mistakes to Avoid
- Improper Pipe Cutting: Uneven or jagged cuts can prevent a proper seal. Always use a sharp, dedicated PEX cutter.
- Incorrect Ring Placement: Placing the ring too close or too far from the end can lead to leaks.
- Insufficient Crimping: Failing to fully close the handles may result in a weak joint.
- Skipping the Go/No-Go Gauge: Not checking your crimps can allow faulty connections to go unnoticed until leaks occur.
Choosing the Best PEX Crimp Tool
When shopping for a PEX crimp tool, consider the following:
- Size Compatibility: Ensure the tool matches the pipe sizes you’ll be working with.
- Build Quality: Look for tools made from durable materials like hardened steel.
- Ease of Use: Ergonomic handles and ratcheting designs can reduce fatigue.
- Brand Reputation: Trusted brands often offer better warranties and support.
- Included Accessories: Some kits include Go/No-Go gauges, additional jaws, and carrying cases.
Popular brands in the market include SharkBite, Apollo, IWISS, and Milwaukee.
Advantages of PEX Crimping Over Other Methods
- Affordability: Crimp rings and tools are less expensive than most alternatives.
- Proven Reliability: Crimped joints have a long track record of success.
- Availability: Parts and tools are widely available at any hardware store.
- DIY Friendly: The learning curve is gentle, making it accessible to homeowners.
FAQs About PEX Crimp Tools
Q: Can I use the same crimp tool for all PEX sizes?
A: Some universal crimp tools can handle multiple sizes, but many are size-specific. Always check the manufacturer’s specs.
Q: Are PEX crimp connections approved by code?
A: Yes, crimping is approved by plumbing codes in most regions, but always verify with your local authority.
Q: Does the tool require calibration?
A: Some models do. Check your tool’s manual for calibration instructions.
Conclusion
The PEX crimp tool has revolutionized plumbing by making reliable, watertight connections simple and affordable for everyone from seasoned professionals to DIY enthusiasts. By understanding how to select, use, and maintain your PEX crimp tool, you can ensure the integrity of your plumbing system for years to come. As PEX plumbing continues to grow in popularity, mastering the use of the PEX crimp tool is an essential skill for anyone involved in pipe installation or repair. Choose the right tool, follow best practices, and enjoy leak-free plumbing with confidence.
Leave a Reply