In the world of plumbing, HVAC, automotive repair, and gas fitting, making secure and leak-proof connections between metal tubes is crucial. One of the most reliable methods for achieving this is flaring—the process of expanding the end of a tube to create a conical shape, allowing it to join seamlessly with a fitting. At the heart of this process is the flaring tool, an indispensable device for professionals and DIY enthusiasts alike. This article offers a detailed look at flaring tools: what they are, how they work, their types, applications, and best practices for achieving flawless results.
What Is a Flaring Tool?
A flaring tool is a specialized device used to form a flare, or a conical expansion, at the end of metal tubing—typically copper, aluminum, brass, or steel. The flared end allows the tube to connect securely to a matching fitting, creating a robust, leak-resistant seal. Flaring is essential in systems where high pressure or vibration could otherwise compromise the integrity of a connection, such as in fuel lines, brake lines, refrigeration, and air conditioning systems.
Why Use a Flaring Tool?
Flaring tools are used for several important reasons:
- Leak Prevention: Flaring creates a mechanical seal that resists leaks, critical in gas, fuel, and refrigerant systems.
- Durability: The flare distributes stress over a larger area, making joints more resistant to vibration and pressure.
- Ease of Assembly: Flared fittings allow for quick disassembly and reassembly, ideal for maintenance and repairs.
- Compliance: Many building codes and industry standards require flared connections for safety and reliability.
How Does a Flaring Tool Work?
The basic principle of a flaring tool is simple: it clamps the tube and forces a shaped cone or wedge into the end to expand it outward, forming a precise flare. Here’s a step-by-step overview of the general process:
- Cut the Tube: Use a tube cutter to cut the tubing to the desired length, ensuring a clean, square edge.
- Deburr the Edge: Remove any sharp edges or burrs with a deburring tool to prevent cracks during flaring.
- Insert the Tube: Place the tube into the flaring tool’s clamp or bar, aligning it so the correct amount of tubing extends beyond the clamp.
- Clamp the Tube: Tighten the clamp to hold the tube securely in place.
- Form the Flare: Position the flaring cone or die over the tube and tighten it, forcing the tool’s cone into the tube end to create the flare.
- Inspect the Flare: Release the clamp and inspect the flare for smoothness, symmetry, and cracks.
Types of Flaring Tools
1. Standard (Single) Flaring Tool
This is the most common type, used for making single, 45-degree flares in soft copper, brass, or aluminum tubing. It consists of a bar with holes for different tube sizes and a yoke or screw press with a conical tip.
2. Double Flaring Tool
Designed primarily for automotive brake lines and some high-pressure systems, the double flaring tool creates a reinforced, two-layered flare. It uses a two-step process with an additional die to fold the tube’s edge before flaring, resulting in extra strength and resistance to cracking.
3. Eccentric Cone Flaring Tool
This tool uses an off-center cone that rotates as it presses into the tube, producing a smoother and more precise flare. It is favored for refrigeration and air conditioning lines where leak-proof joints are paramount.
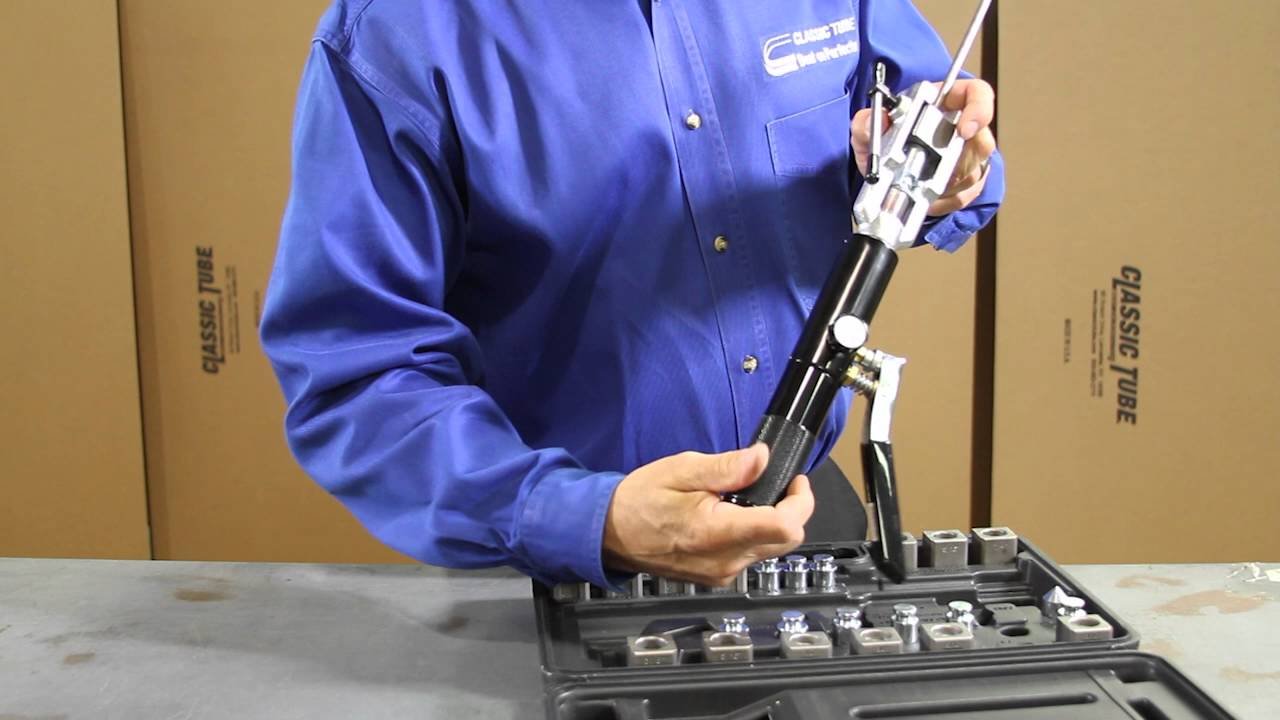
4. Lever-Type or Hydraulic Flaring Tool
Lever or hydraulic flaring tools are designed for larger diameters or tougher materials. They use mechanical or hydraulic force to form the flare, making the process easier and more consistent for professional, high-volume applications.
Leave a Reply